17th October, 2025
Tidy Tip: Exporting multiple graphics from a single flat image in Photoshop.
Turning One Image into Many
Have a single image that you want to break into multiple files, but it’s not layered or transparent? You’re not alone, and we’ve got a solution to help!
Photoshop’s Slice Tool combined with guides can help you quickly and cleanly divide a grid of images into individual files, ready for export.
This method won’t magically create new layers within the Photoshop file, but it will give you a set of perfectly cropped images on export, ideal for product grids, icons, or any regularly arranged set of visuals.
In this guide, we’ll walk through how to separate a grid of images into multiple files using slices.
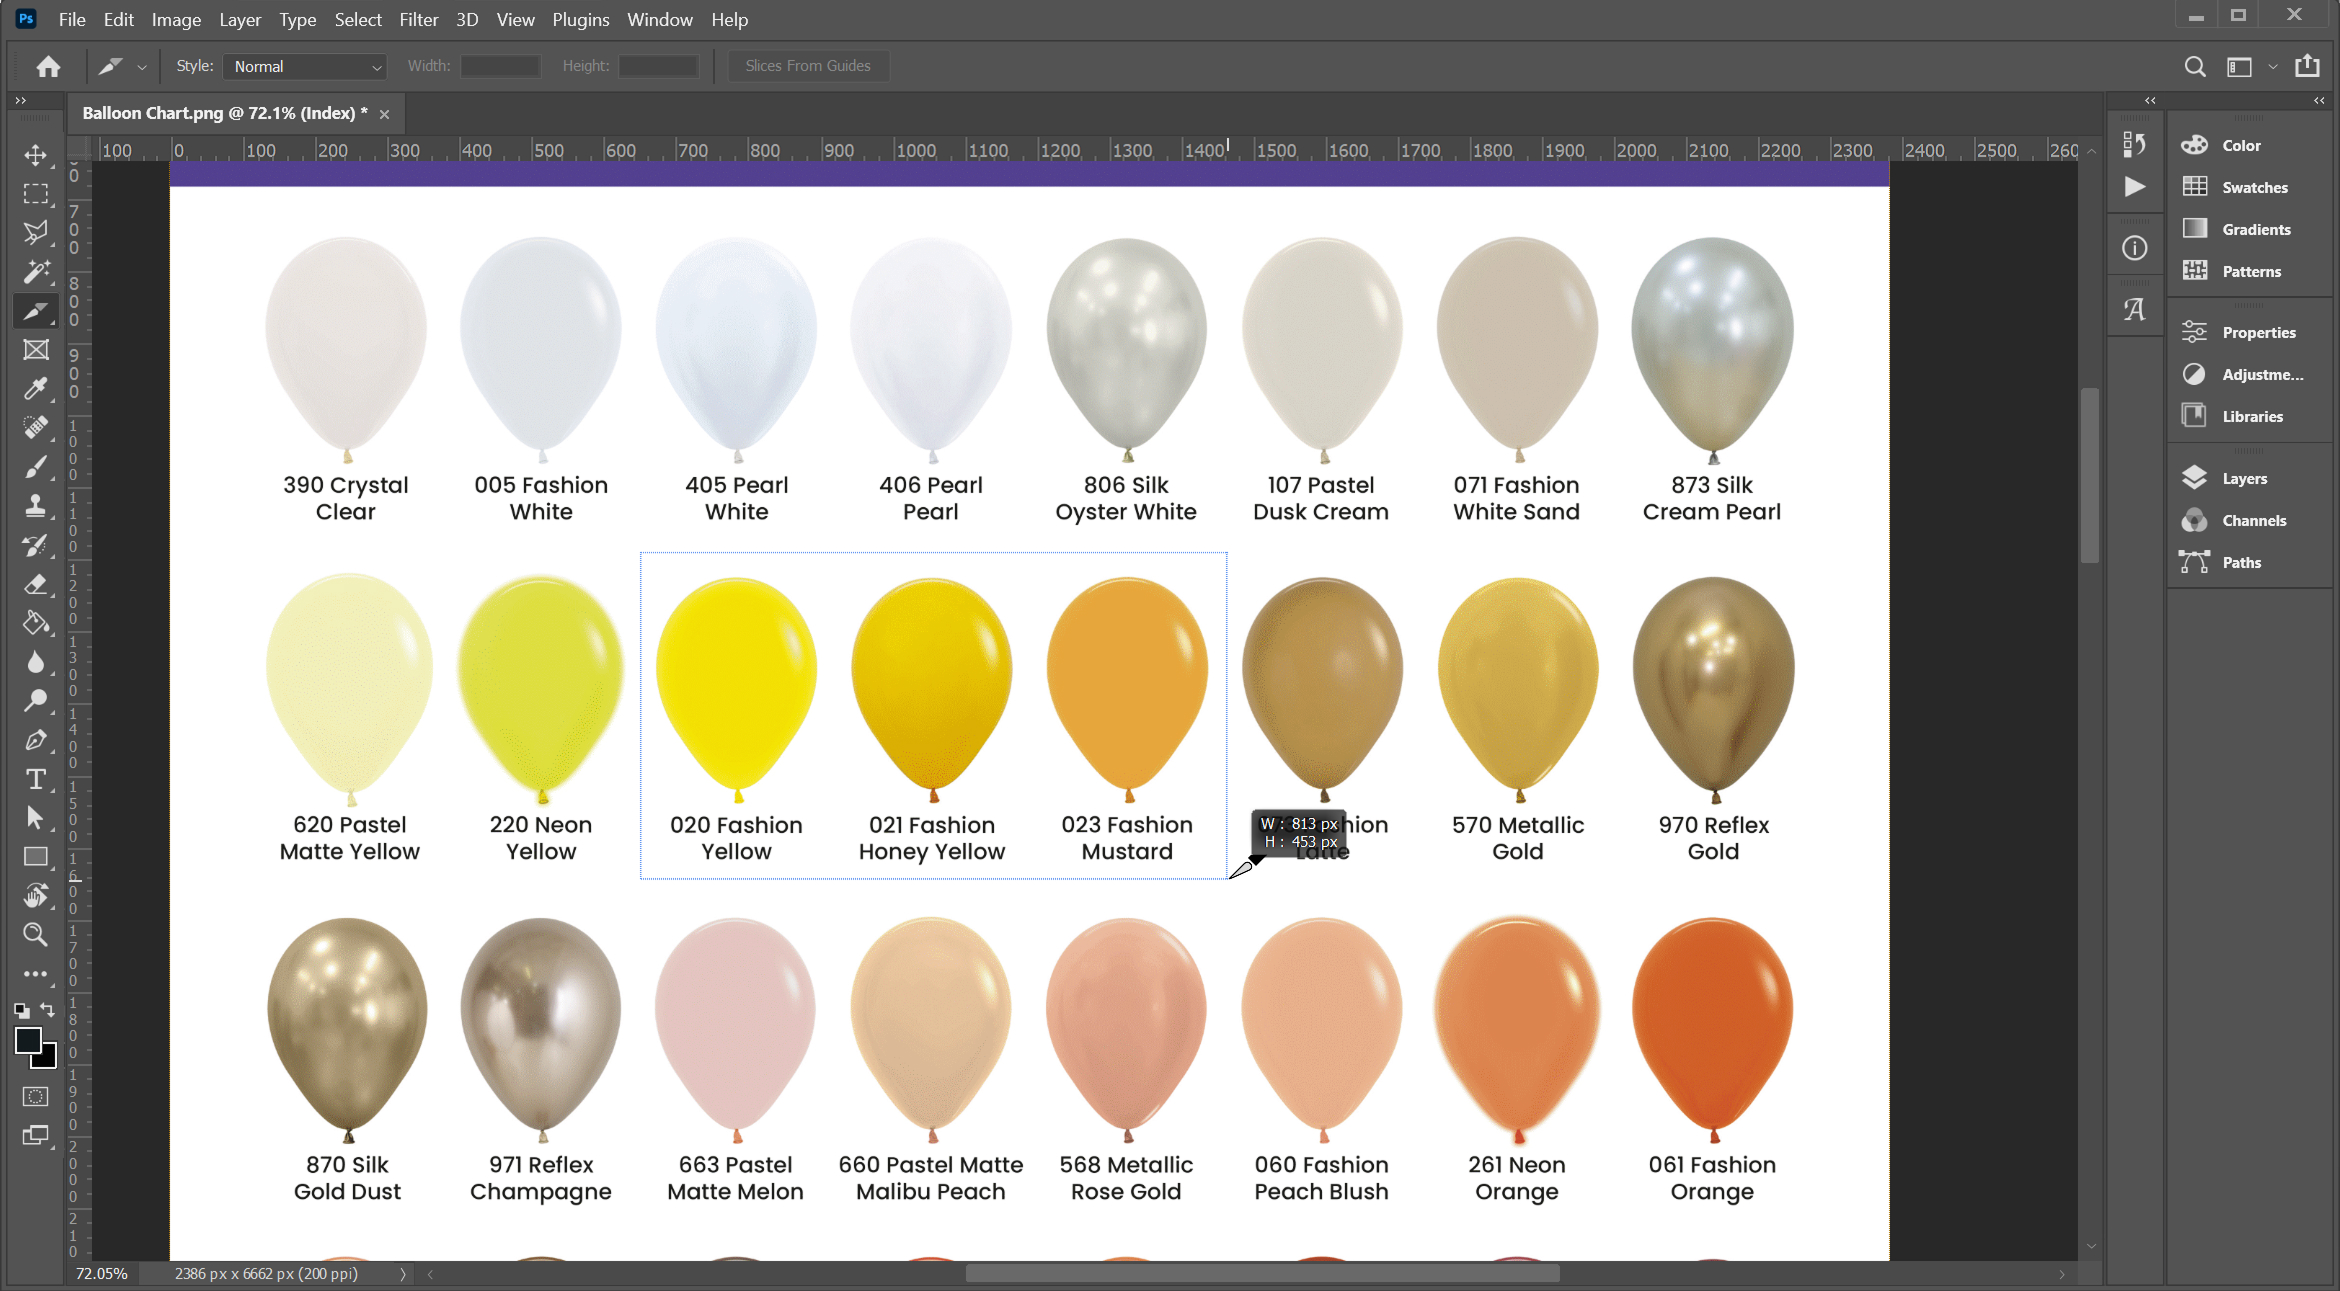
Step 1: Open Your Image and Identify What You Need
Open your flat image in Photoshop.
If you only need to export a few clear elements, you can simply select the Slice Tool, click and drag over each area you want to isolate. A bounding box will appear for each slice. When you export, Photoshop will generate separate files for each one.
With this done, you can head to “Export the Slices” below and clock off early!
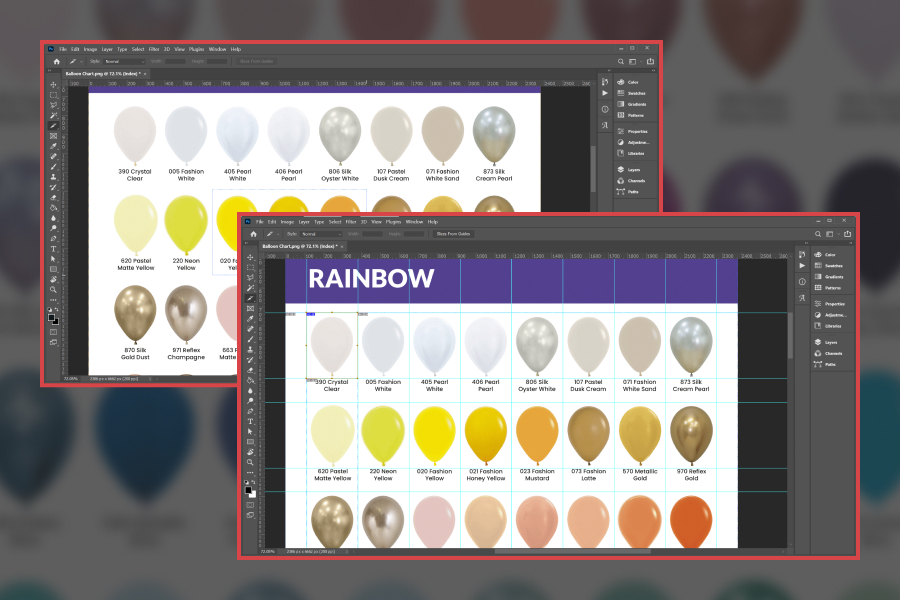
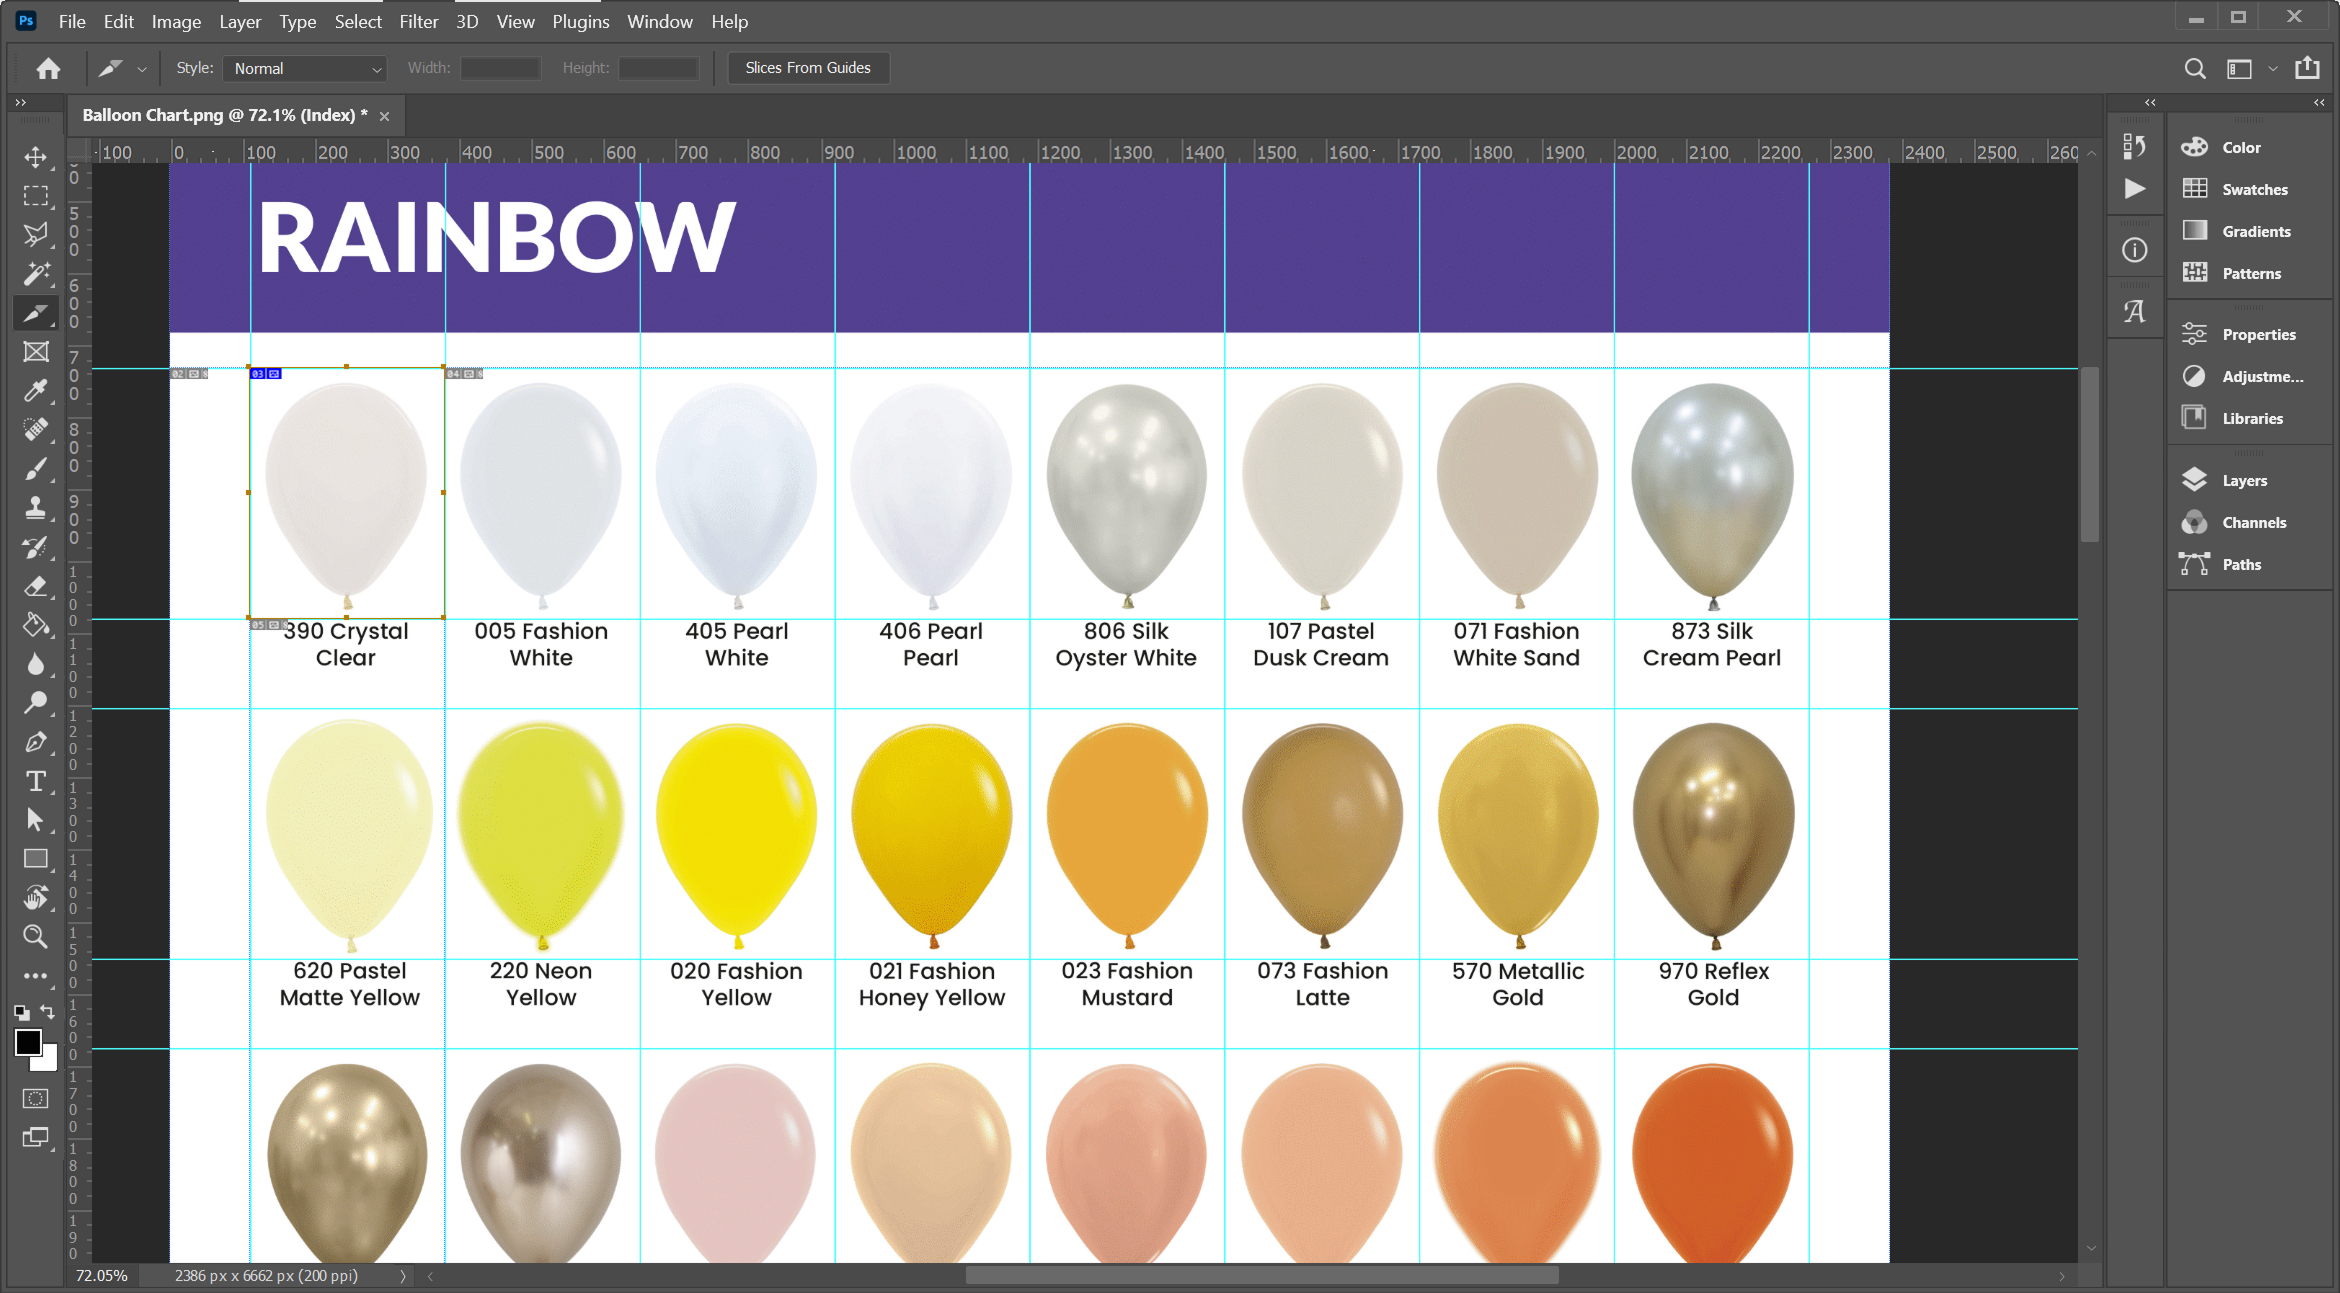
For our example, though, we’re working with a large grid of evenly spaced balloons. To make the slicing process faster and more uniform, we’ll set up a guide layout first.
Step 2: Set Up Your Grid with Guidelines
Go to: View > New Guide Layout
In the dialogue box, you can define the number of columns and rows to match your grid. For example, if your image has 8 “items” across and 11 down, set Columns: 8 and Rows: 11.
If your grid has padding (e.g. from headers, footers, or margins), you can tick Margin and adjust those values so that your guides align with the main content area.
For evenly spaced elements, leave Width and Gutter blank, Photoshop will divide the space equally.
If you need to exclude areas (like captions or text below each object, as we do), you can use a combination of Row Height and Gutter values to fine-tune the vertical spacing. With Preview enabled, you can watch your adjustments update in real time until the grid locks in perfectly.
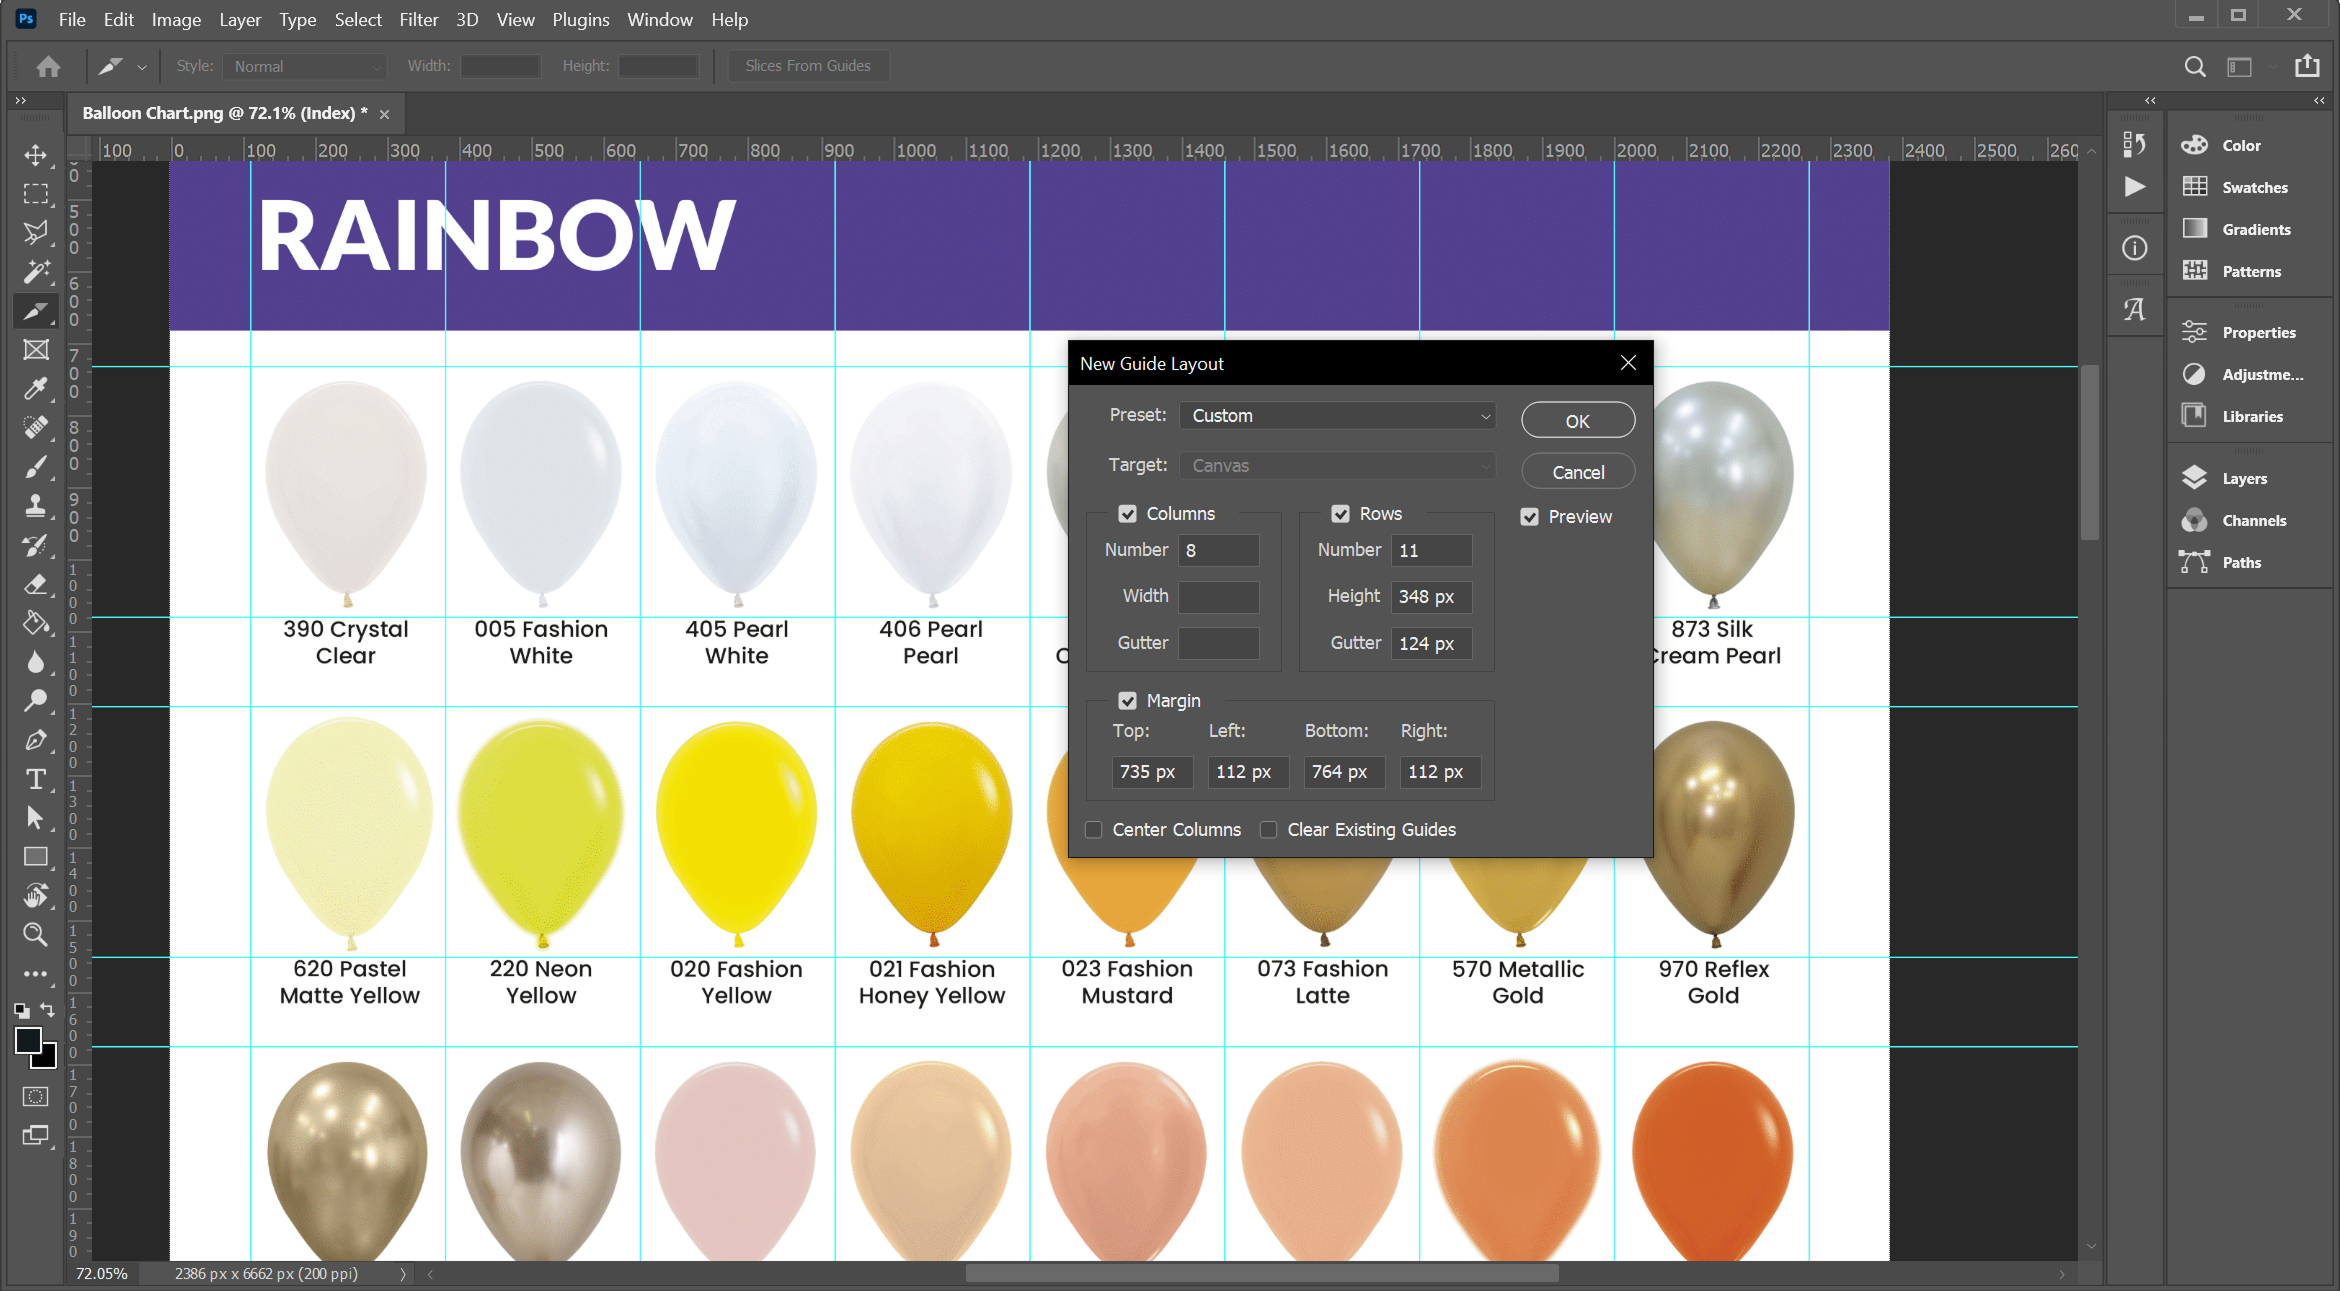
Once happy, click OK.
Step 3: Slice the First Section
Switch to the Slice Tool. You’ll find it nested under the Crop Tool, right-click the Crop Tool icon in the toolbar and select Slice Tool.
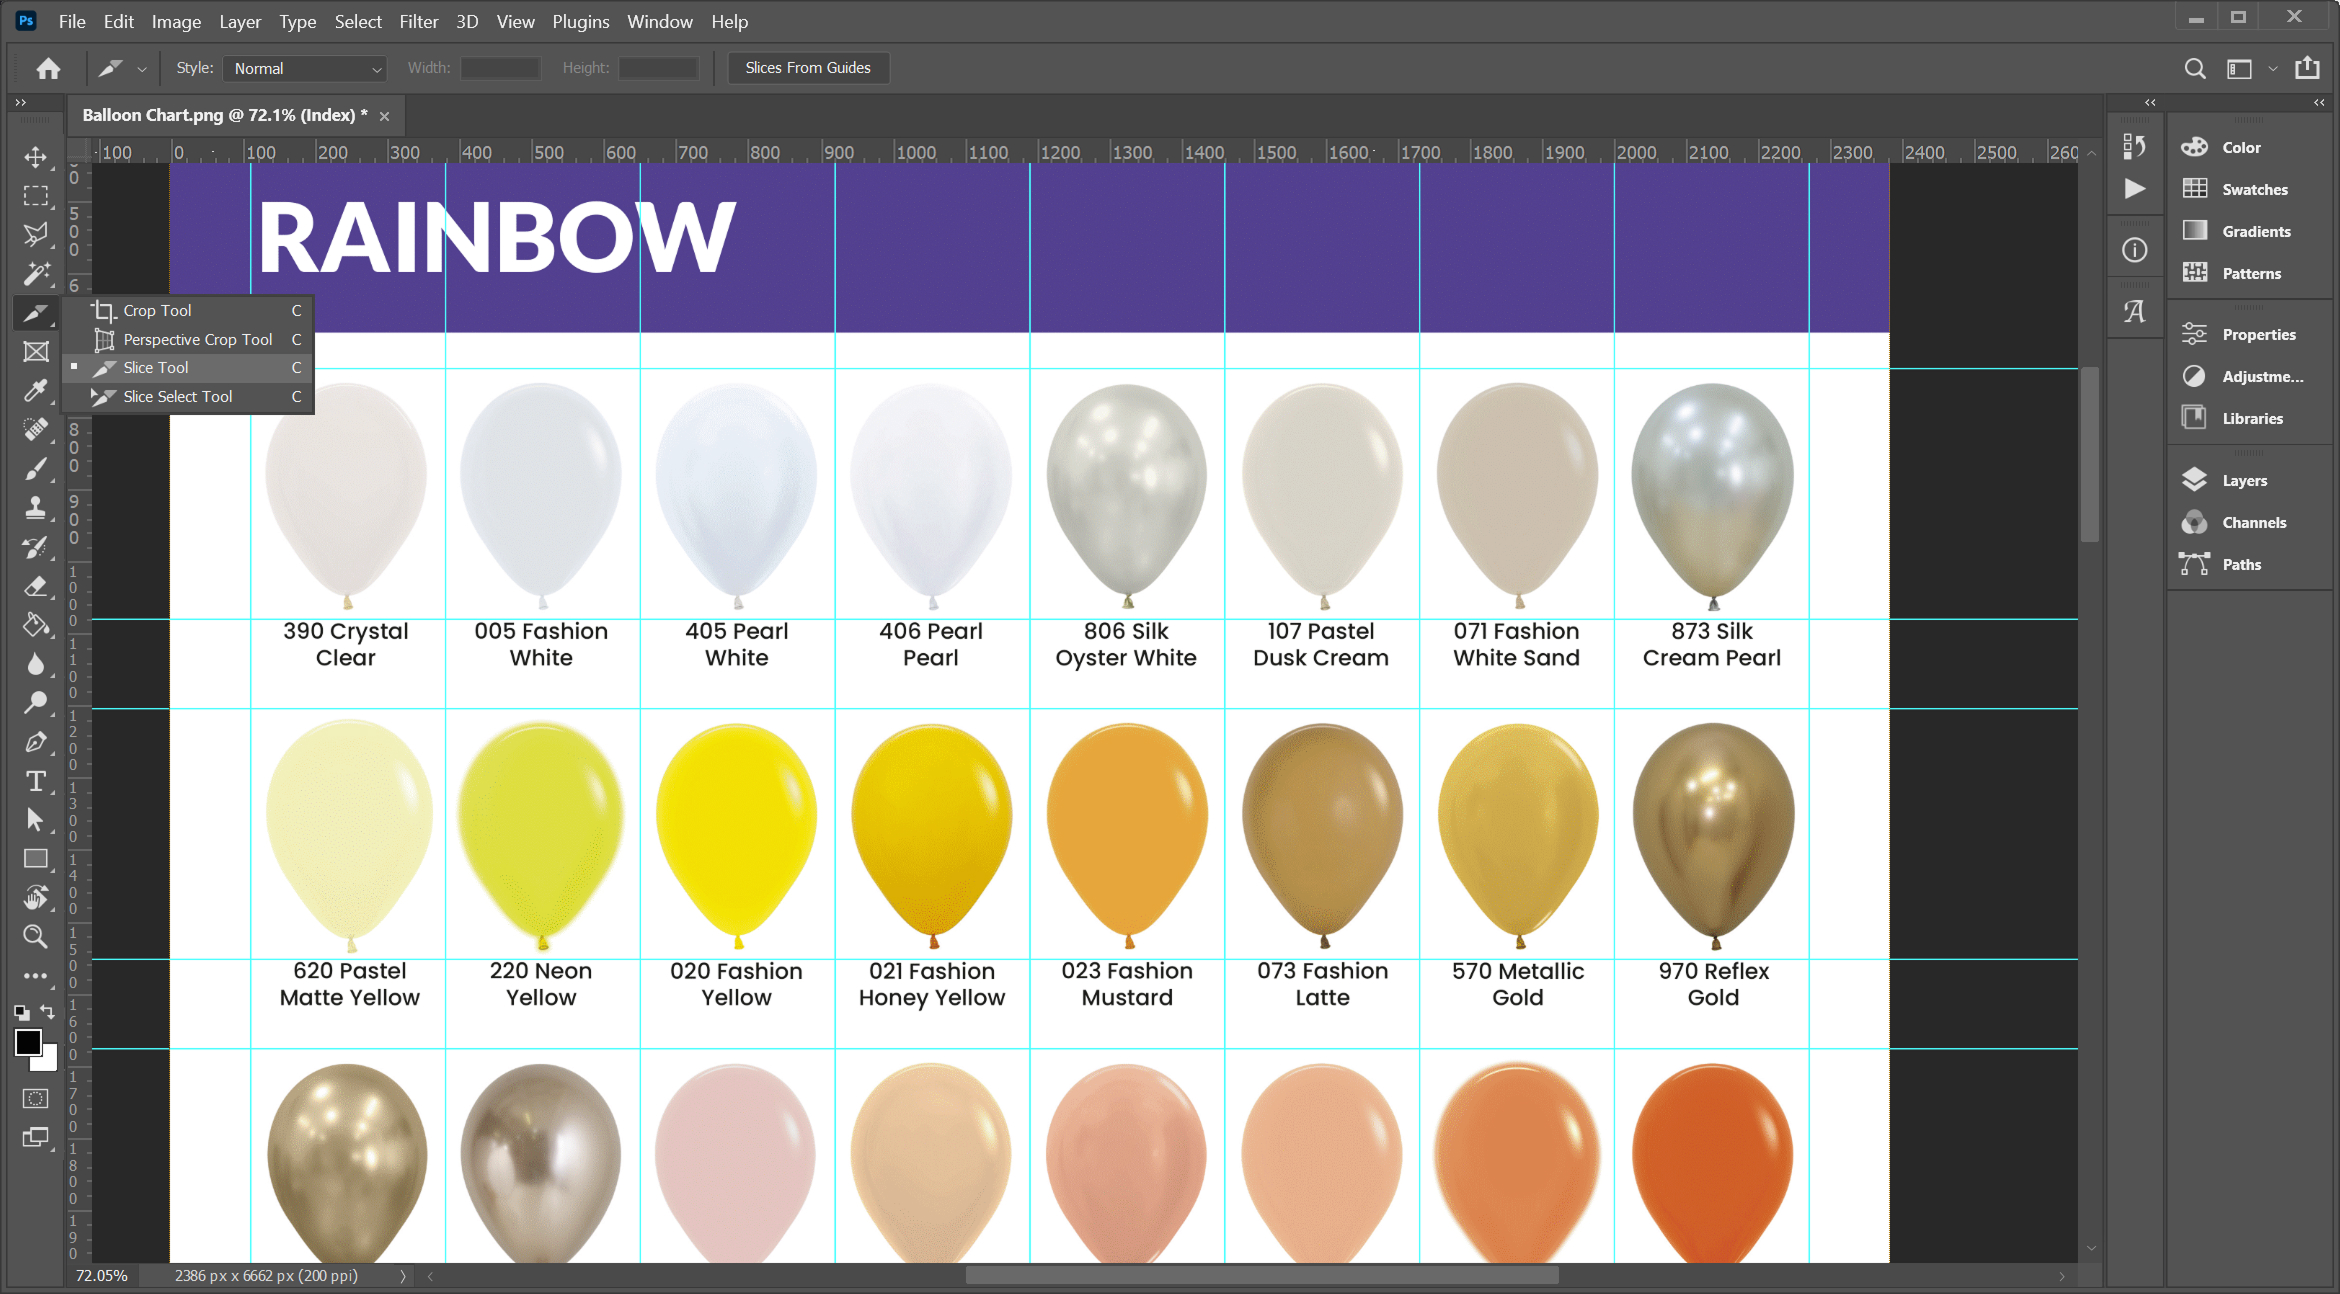
Make sure Snap is enabled so your slice aligns perfectly with the guides:
View > Snap(should be ticked)View > Snap To > Guides(should be ticked)
Starting at the top-left cell of your grid, click and drag from the top-left corner guide to the bottom-right corner of that section. When you release, Photoshop creates your first slice.
Step 4: Duplicate Slices Across the Grid
Switch to the Slice Select Tool, it’s nested with the Slice Tool in the toolbar.
With your first slice selected hold [Alt – Windows || Option – Mac] and drag the slice to the next cell. This duplicates the slice neatly across the row. Repeat this process until the entire first row is sliced.
Once that row is done, hold Shift and click each slice to select them all, then hold [Alt – Windows || Option – Mac] and drag the entire row down to duplicate it.
Repeat this for each row until your entire grid is sliced.
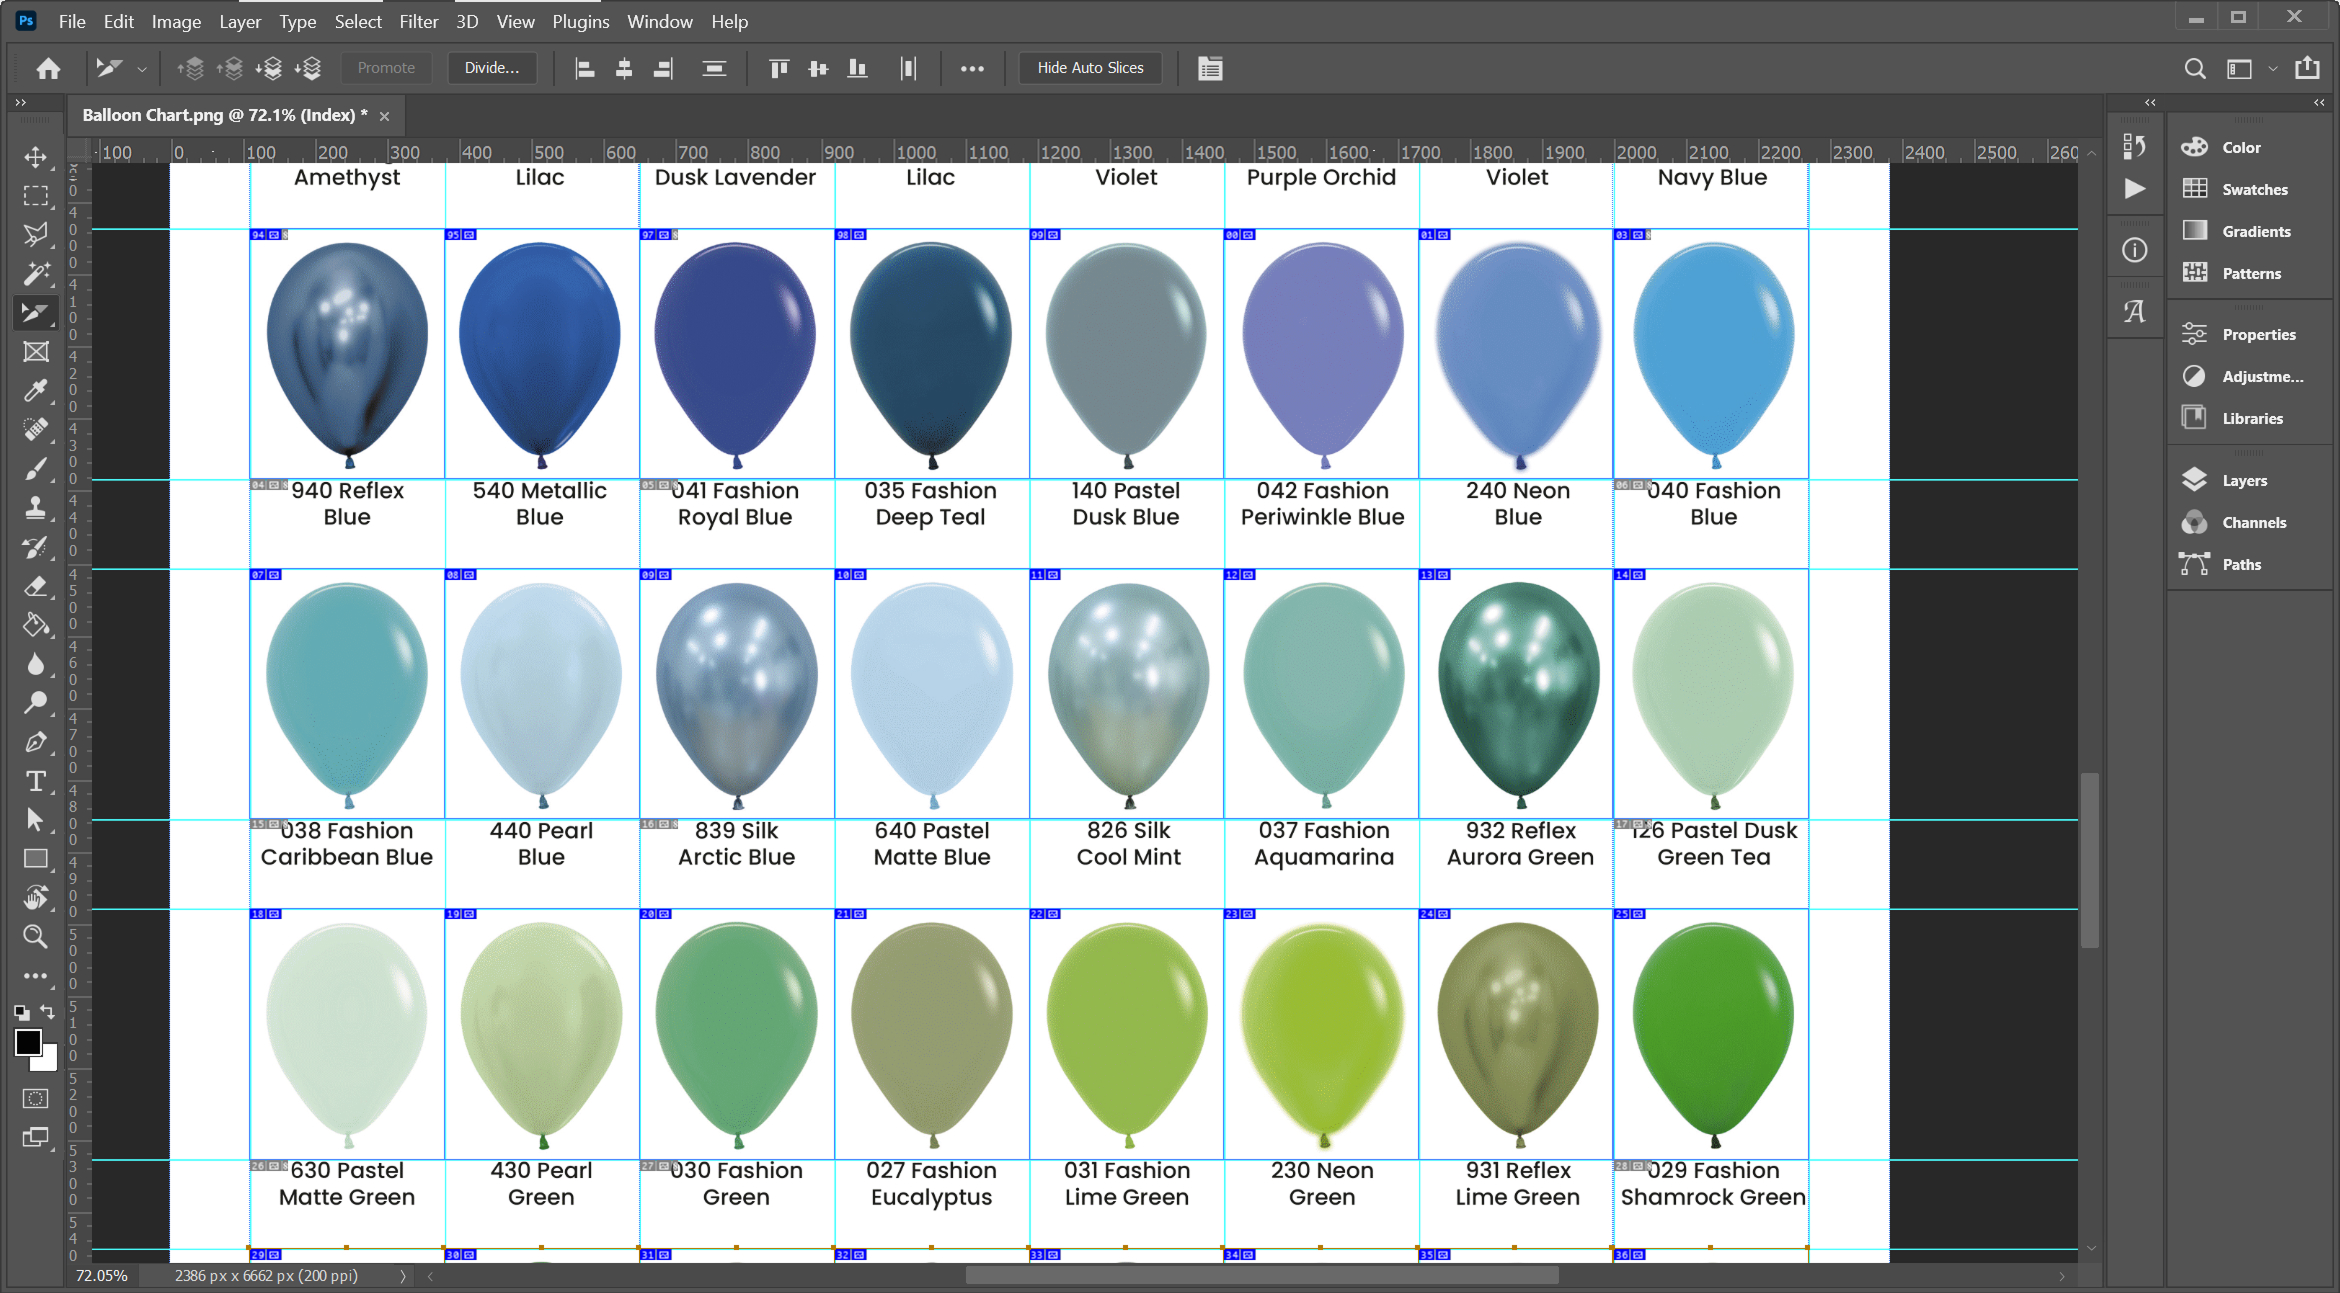
You’ll notice that in the Layers panel, you still only have one image layer. The slicing doesn’t create new layers, it just defines export regions.
Optional: Naming Your Slices for Clean File Exports
Before exporting, it’s worth taking a moment to name your slices. By default, Photoshop gives them generic filenames (e.g. slice_01, slice_02, etc.), but you can rename each one for cleaner, more meaningful exports.
- Switch to the Slice Select Tool.
- Double-click on a slice, this opens the Slice Options panel.
- Enter a descriptive name in the “Name” field. This will be used as the exported file name.
- Click OK and repeat for any other slices you want to label.
This method is most practical for smaller collections or where each file needs a unique name (e.g. product images, banners, icons). For larger sets where a simple base name and numbering will do, it’s usually quicker to bulk rename your exported files using your operating system’s file manager tools.
Step 5: Export the Slices
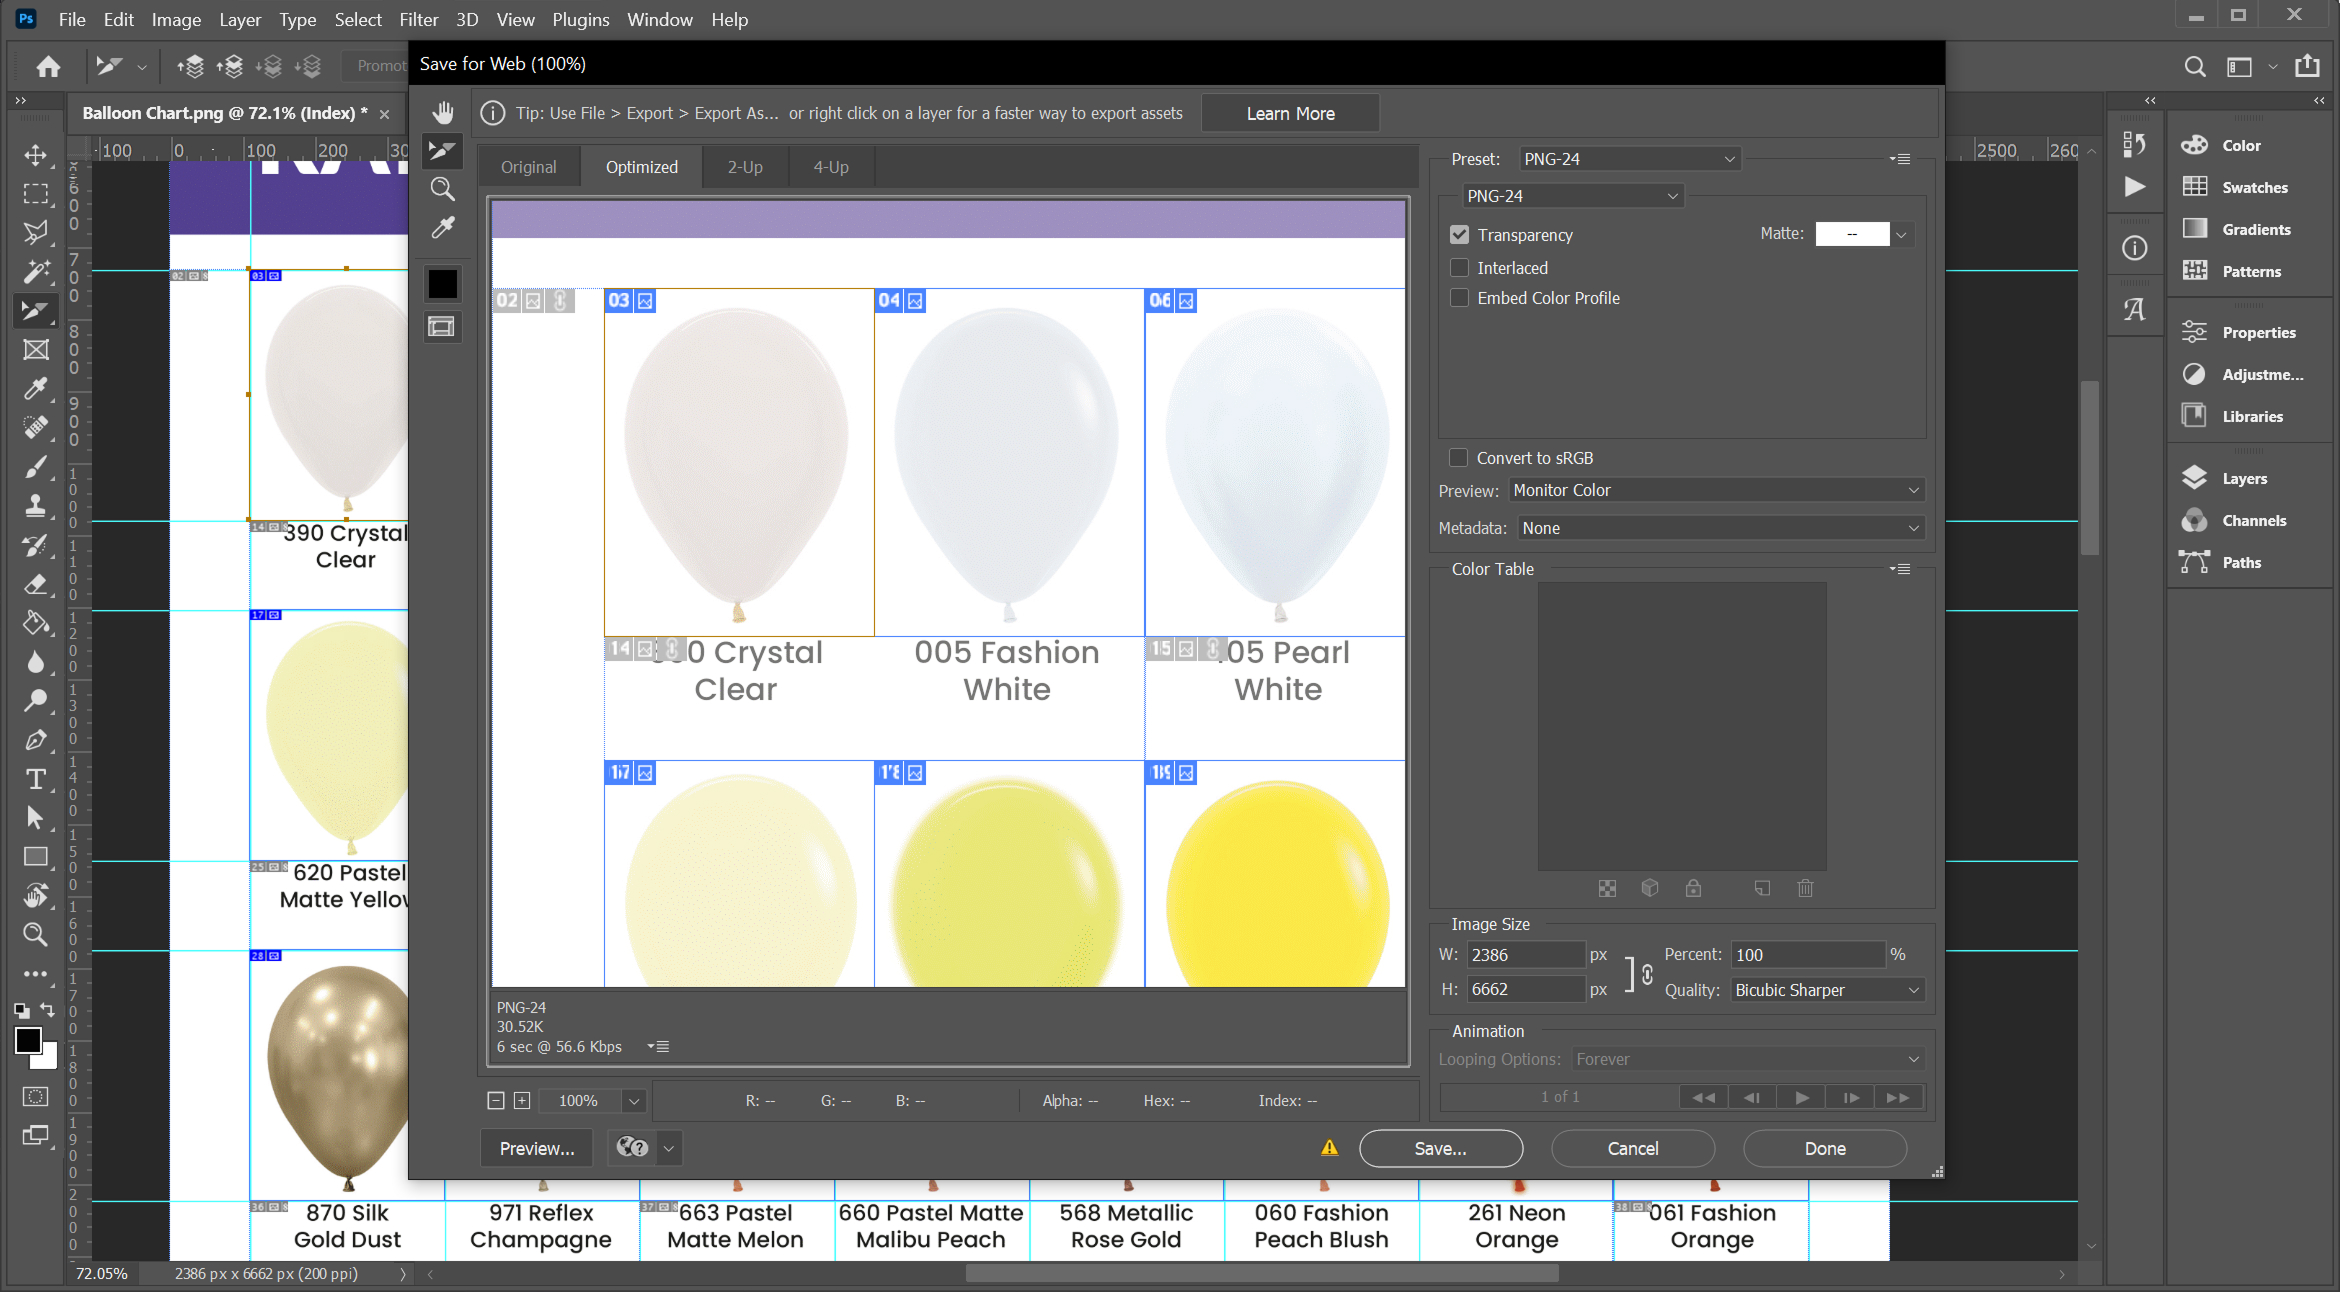
Go to: File → Export → Save for Web (Legacy)
This opens the export panel. You’ll see each slice represented as a separate section.
Set your preferred file format (e.g. PNG, JPG), quality settings, and then hit Save. Photoshop will prompt you to choose a location and then export each slice as an individual file.
Your grid is now neatly split into multiple files without having to cut or layer each element manually.
You’re All Set!
This slicing method is a quick and efficient way to separate elements from a single, flat image, especially when working with grids like product thumbnails, icons, or repeated graphics.
By using guides + the Slice Tool, you can maintain consistent spacing, save time, and avoid manually cropping dozens of images one by one.
We hope you enjoyed this Tidy Tip and have fun creating!
Luke